TASK 1:
Creating a project using bio materials and laser cutter
Touch sensor
For Design Dialogues I, I’ve start my research related the connections of the body with its surroundings, and more specifically when acts of violence are inflicted by one body on another for sexual or passionate reasons (gender-based violence, feminicide). I presented a reflection on the concept of healing wounds and my desire to recreate a biomaterial that could simulate, in some way, human skin. firstly, I focused on the concept of healing, wondering if I could therefore make a biomaterial conductive. I performed a few tests, two of which proved positive.
For the following exercise, Flora and I discussed these issues, converging my interests with hers related to the dynamics of contact between two bodies: we wanted to make visible a perception of being touched and at the same time investigate what the feedback of the skin in contact with a bio-material was.
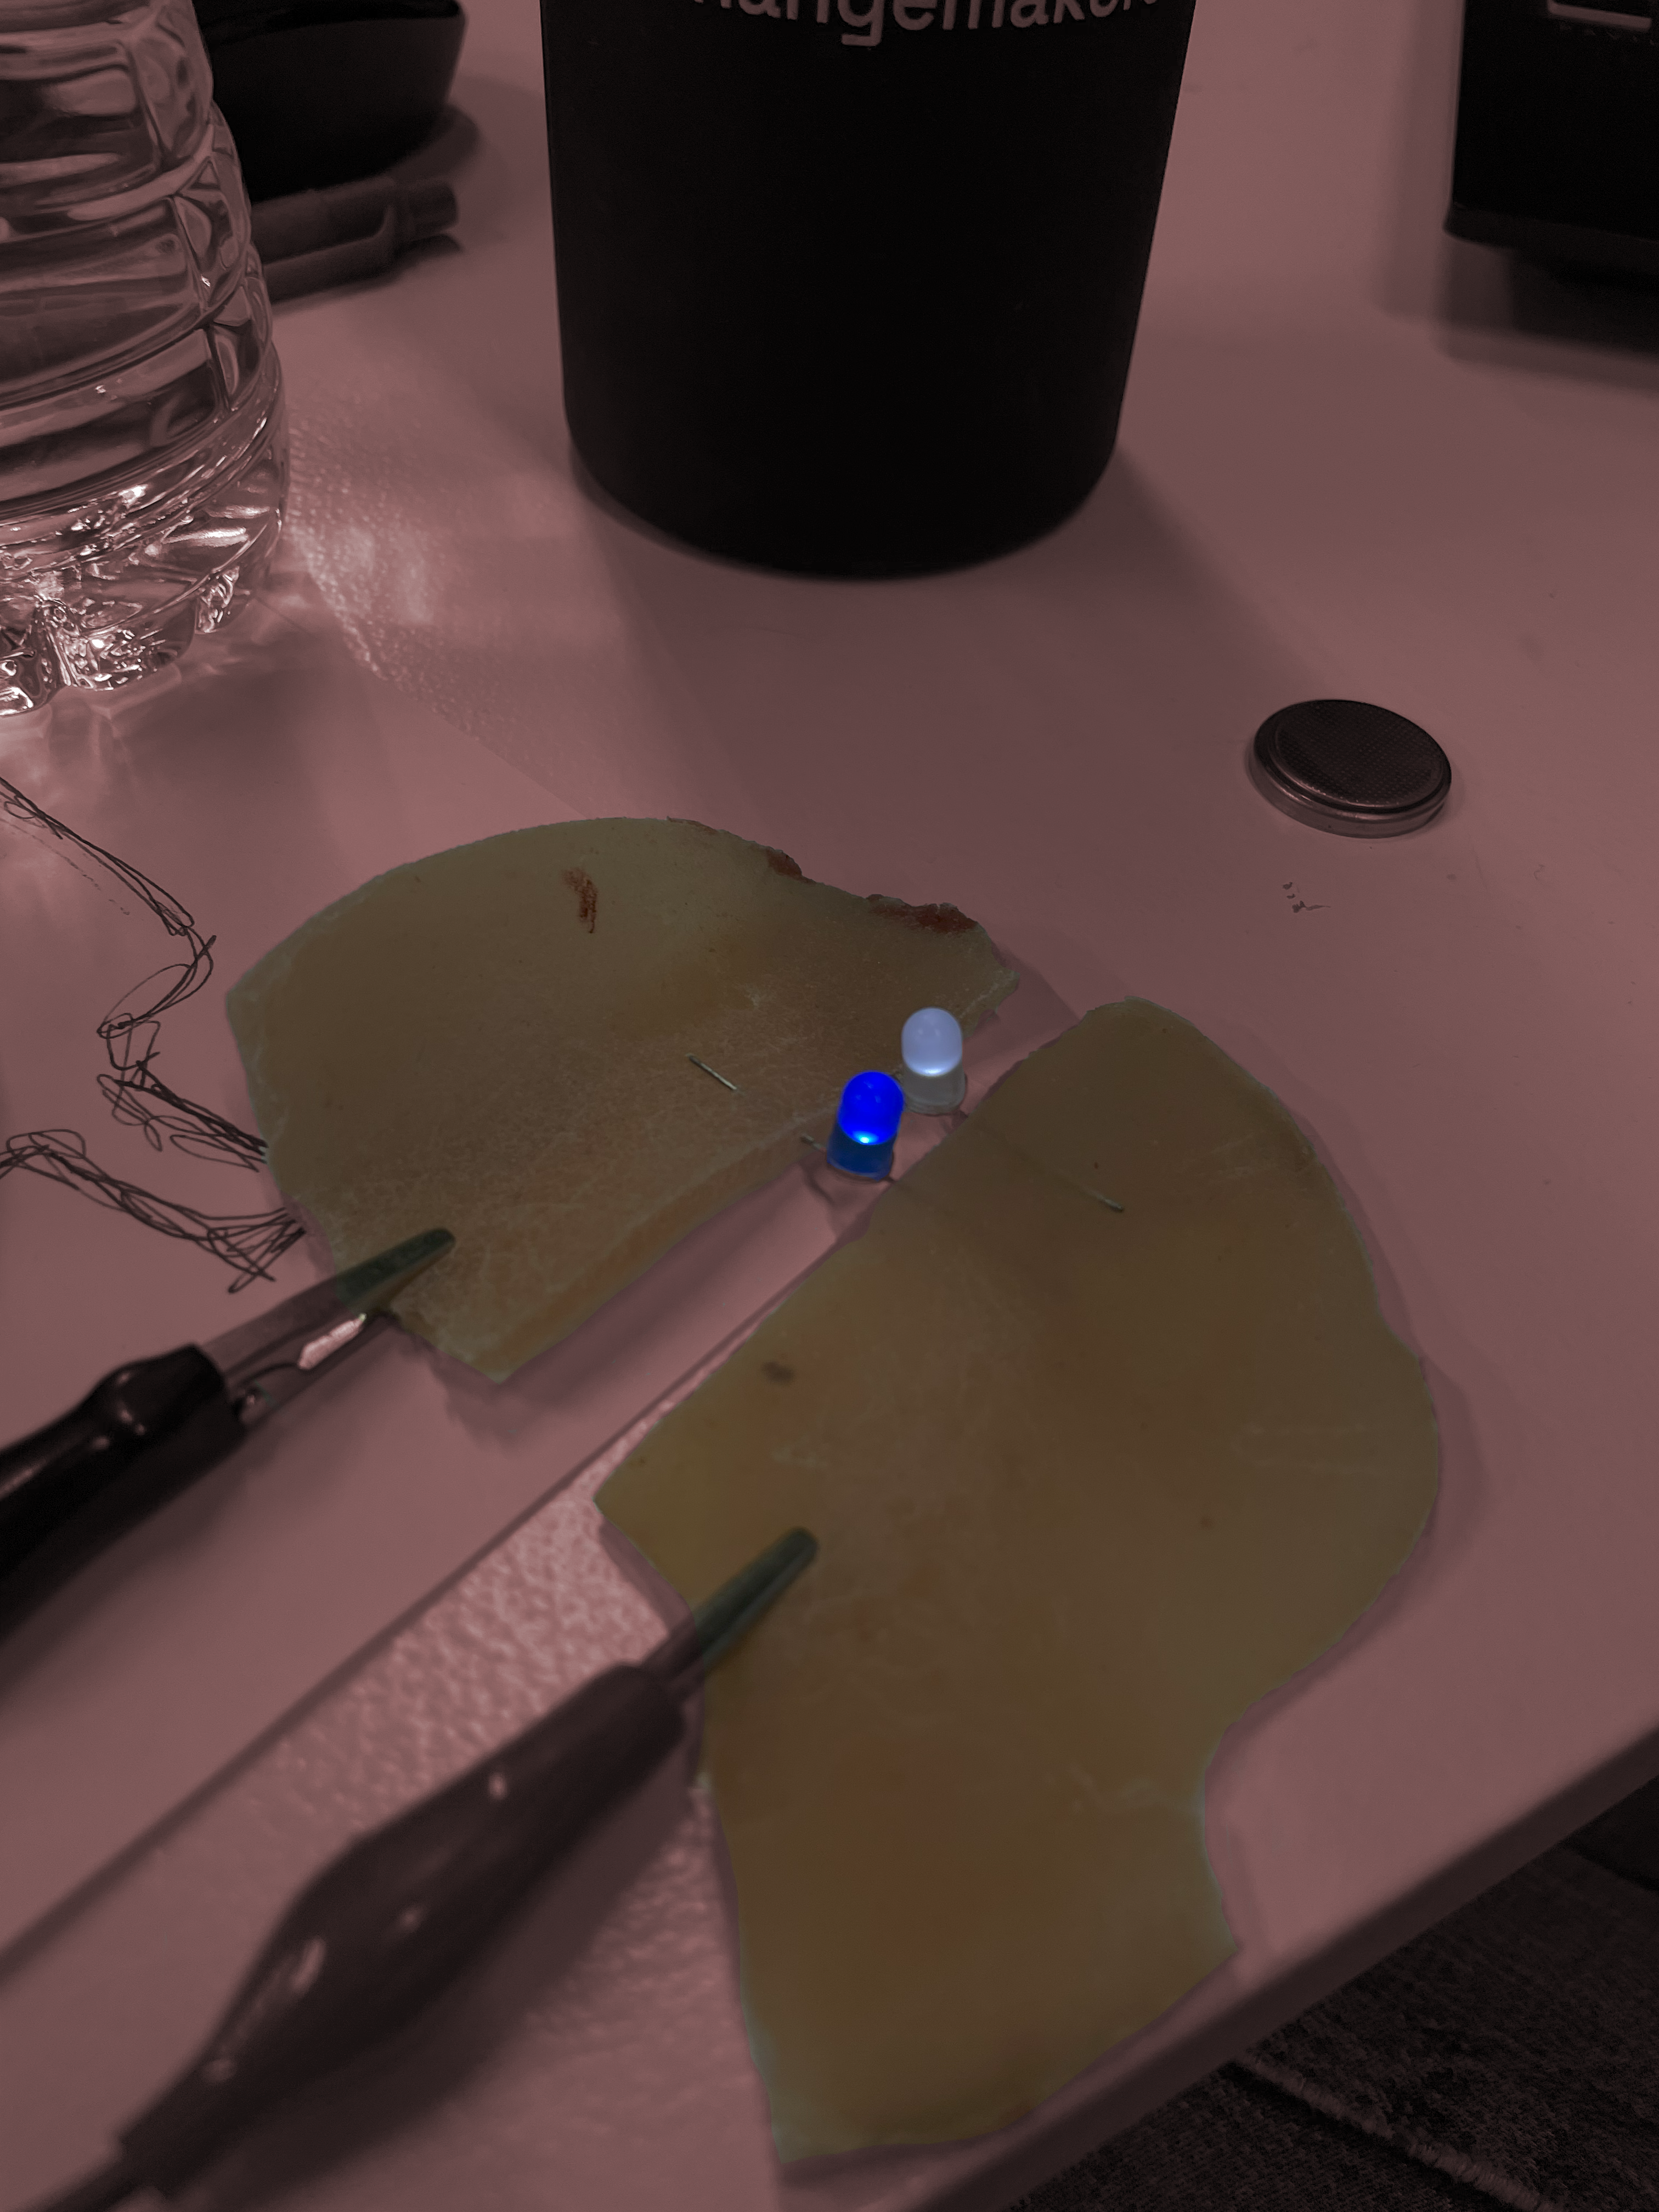
We therefore thought of making, starting from the experiments I had previously carried out, a touch sensor that would turn on a small LED as a feedback response to touch.
I had already made a touch sensor using conductive tape and the biomaterial only as a coating. This time we wanted to test the sensor using conductive biomaterial instead of cables

First step
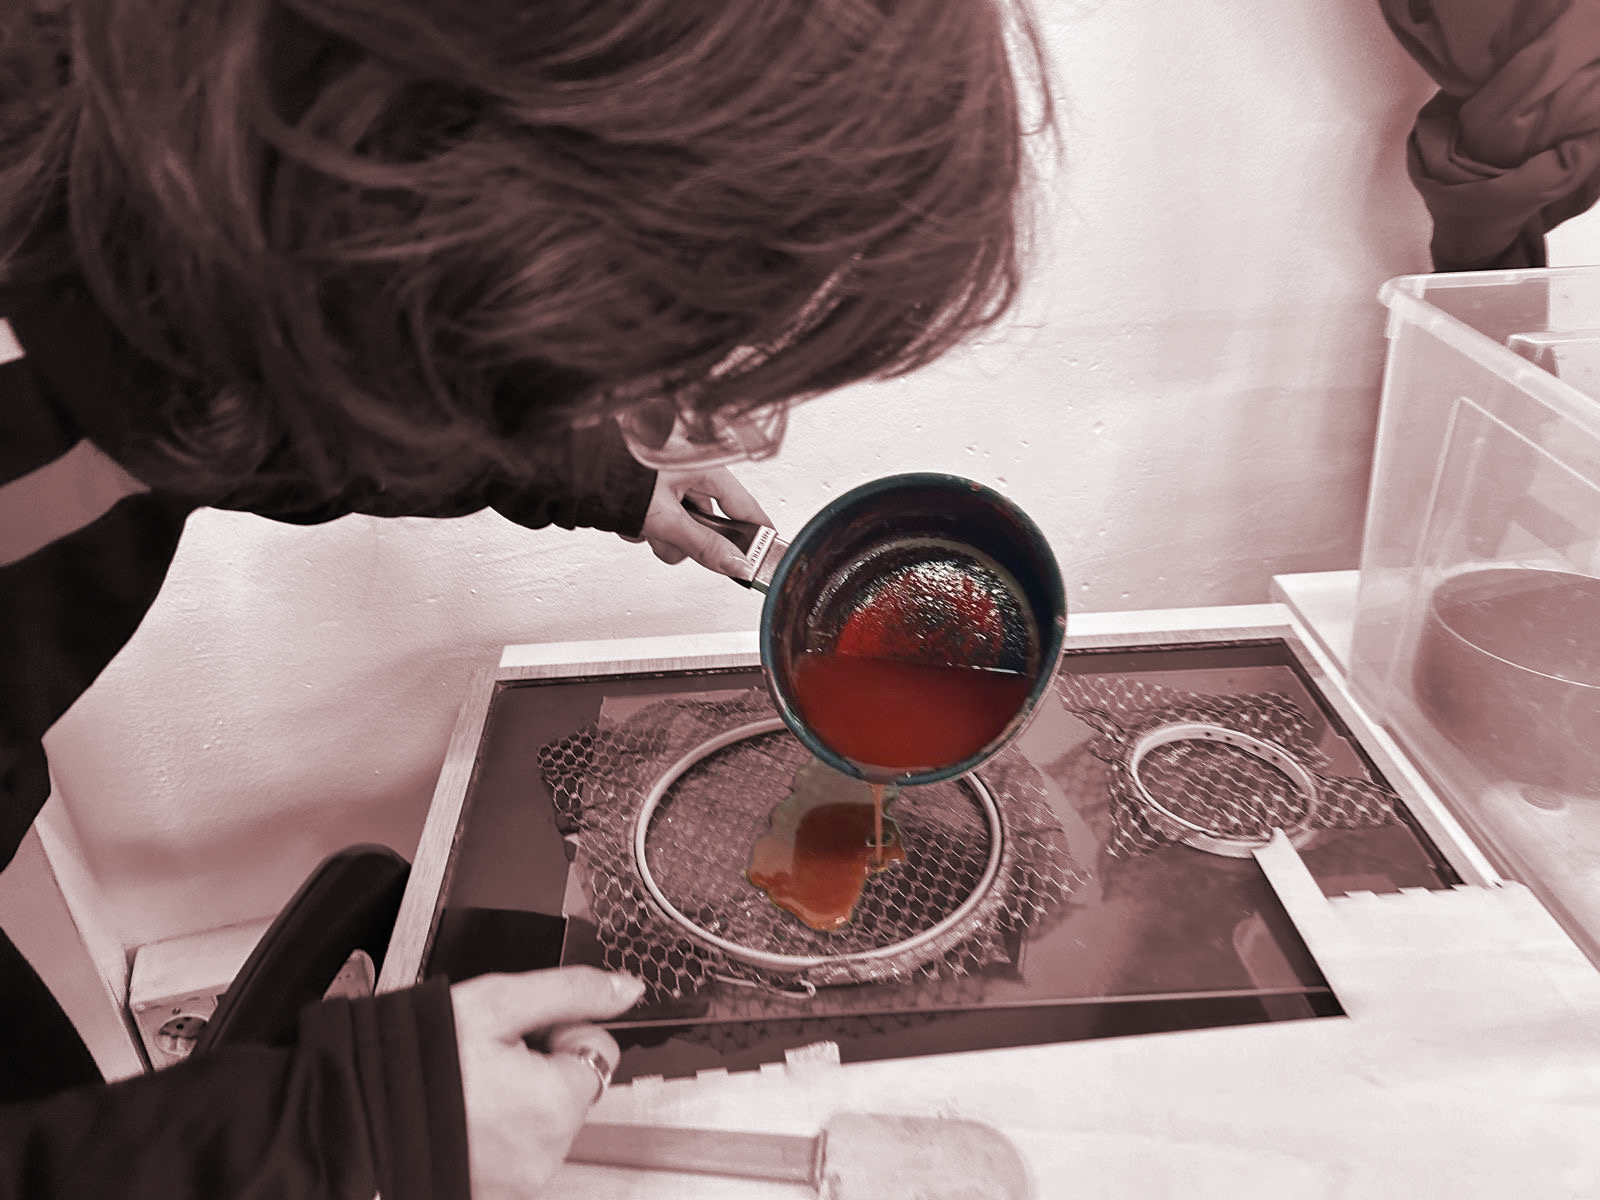
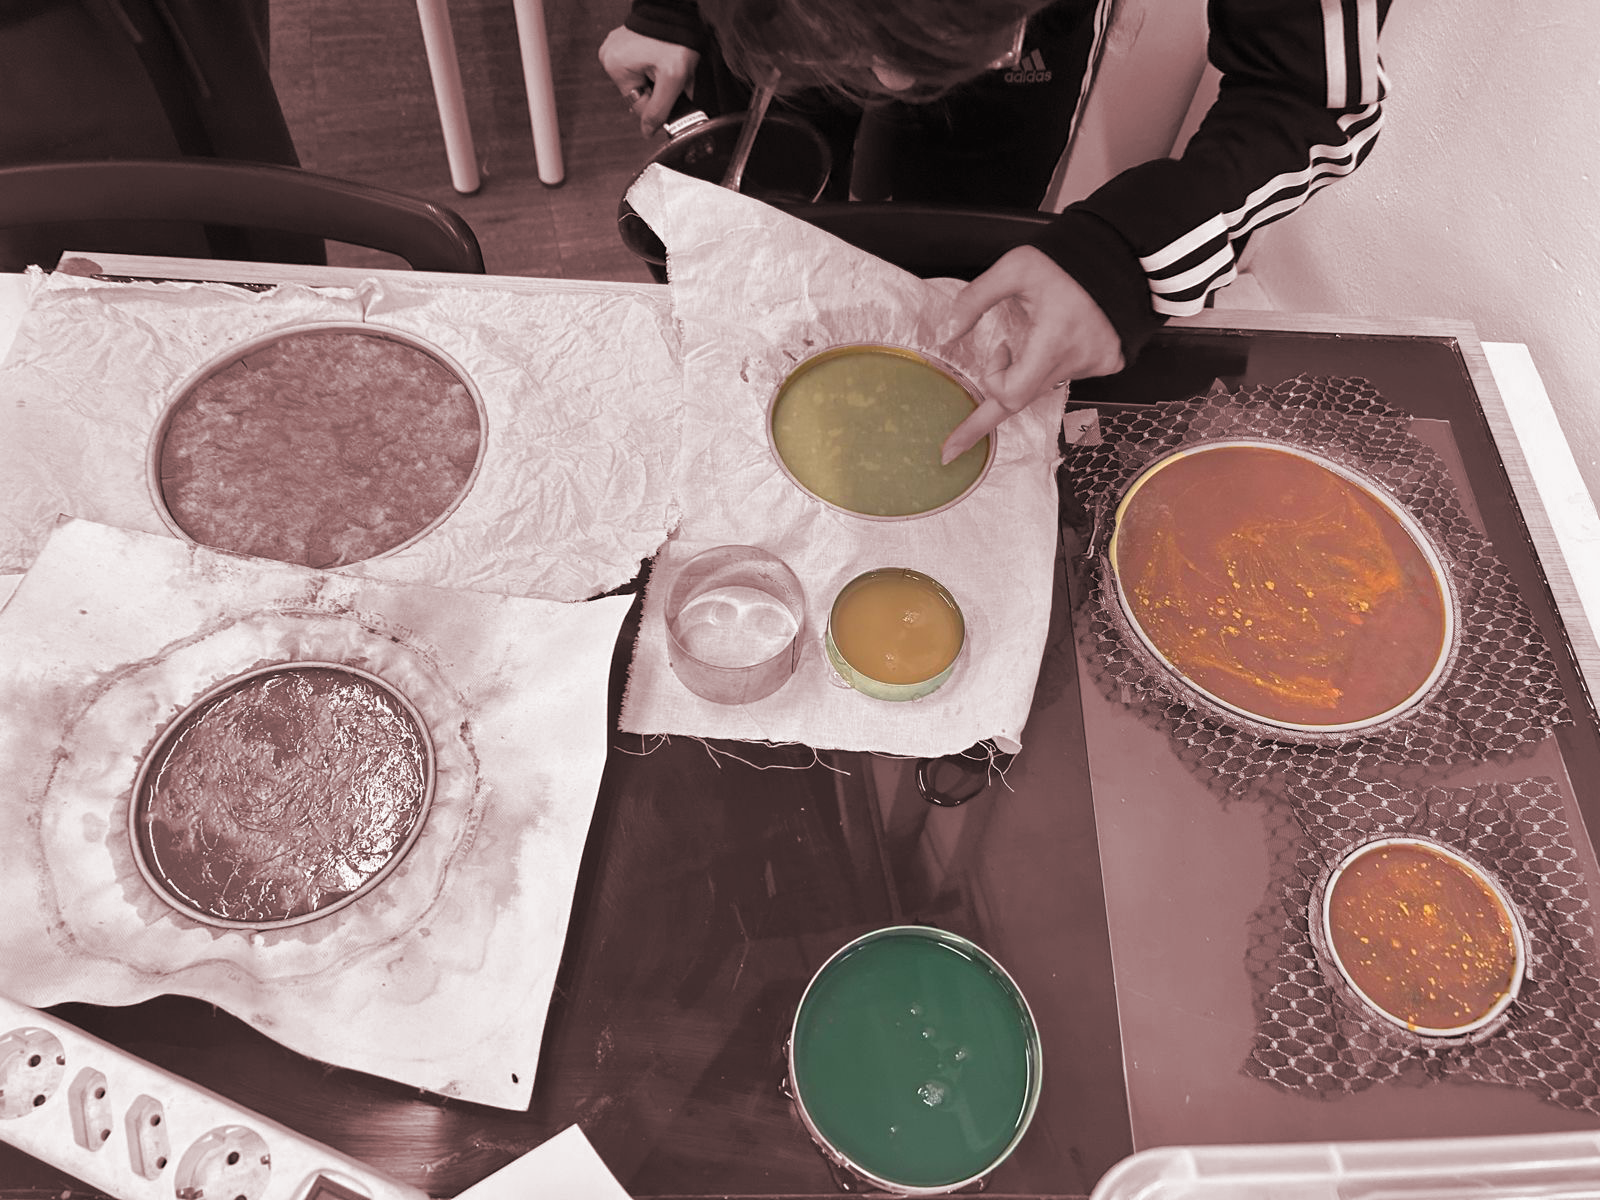
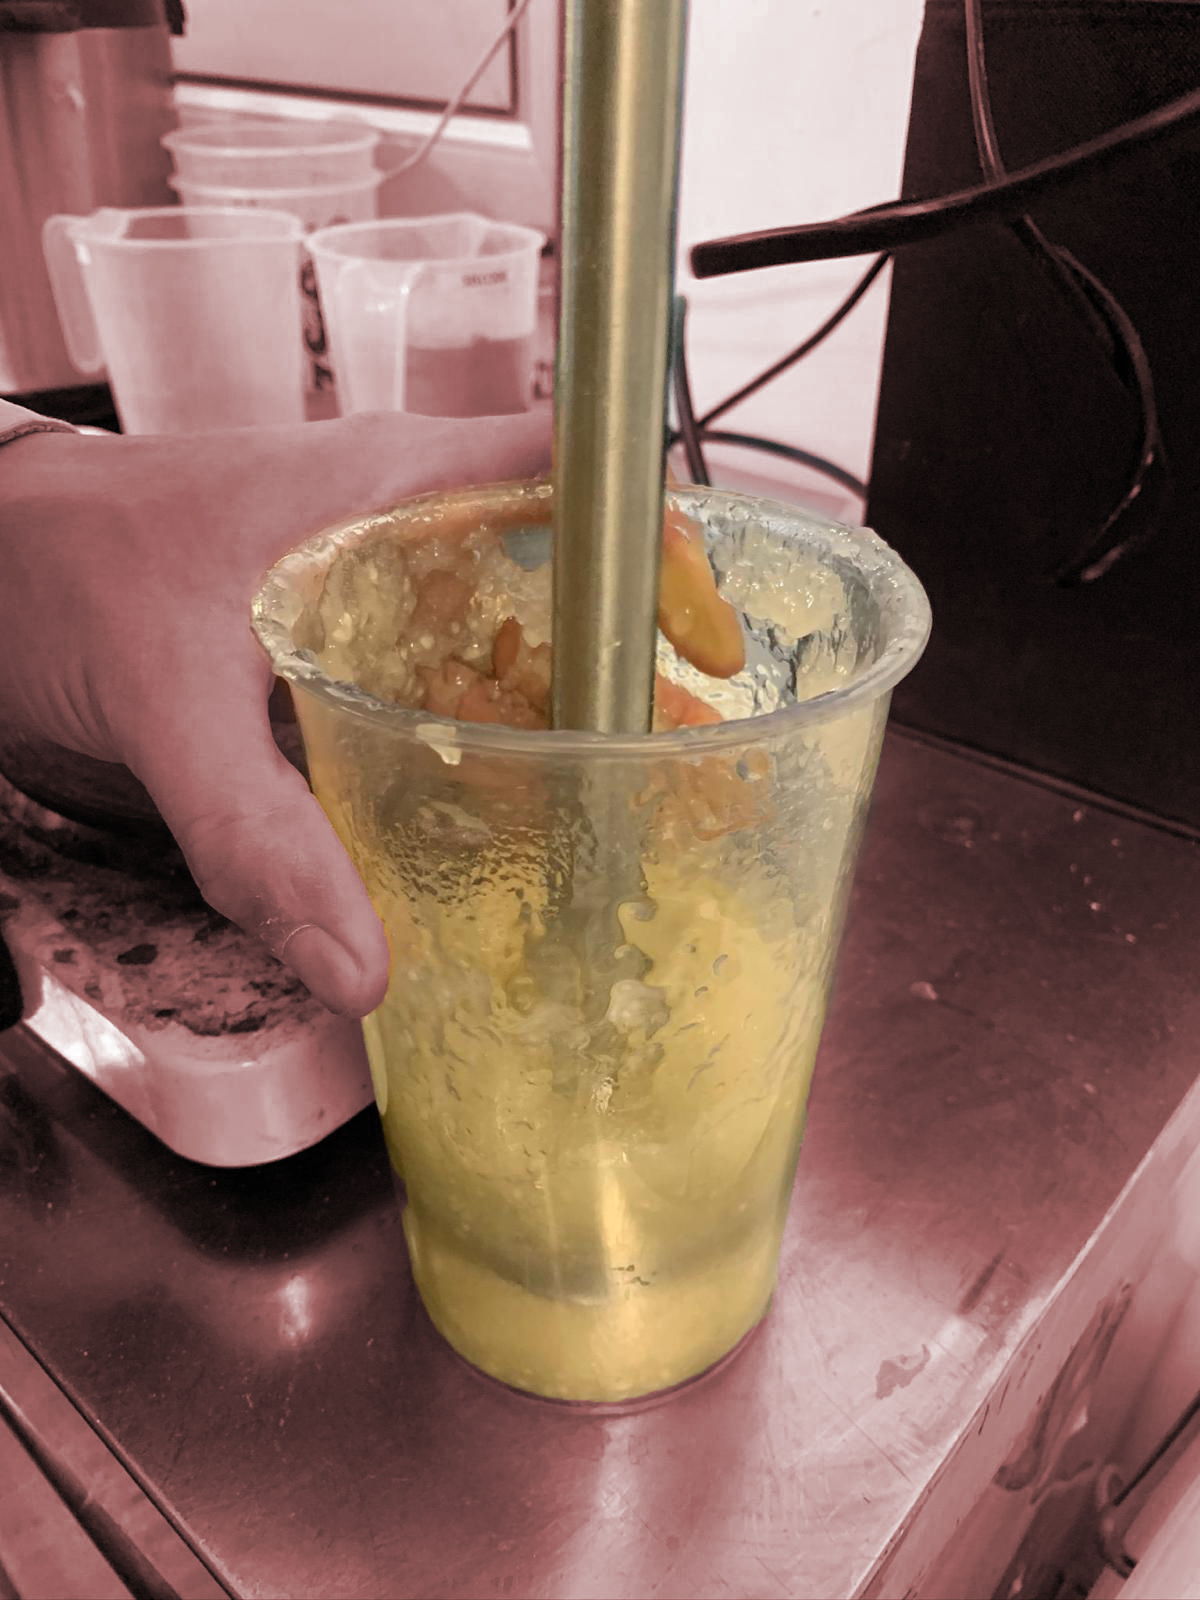
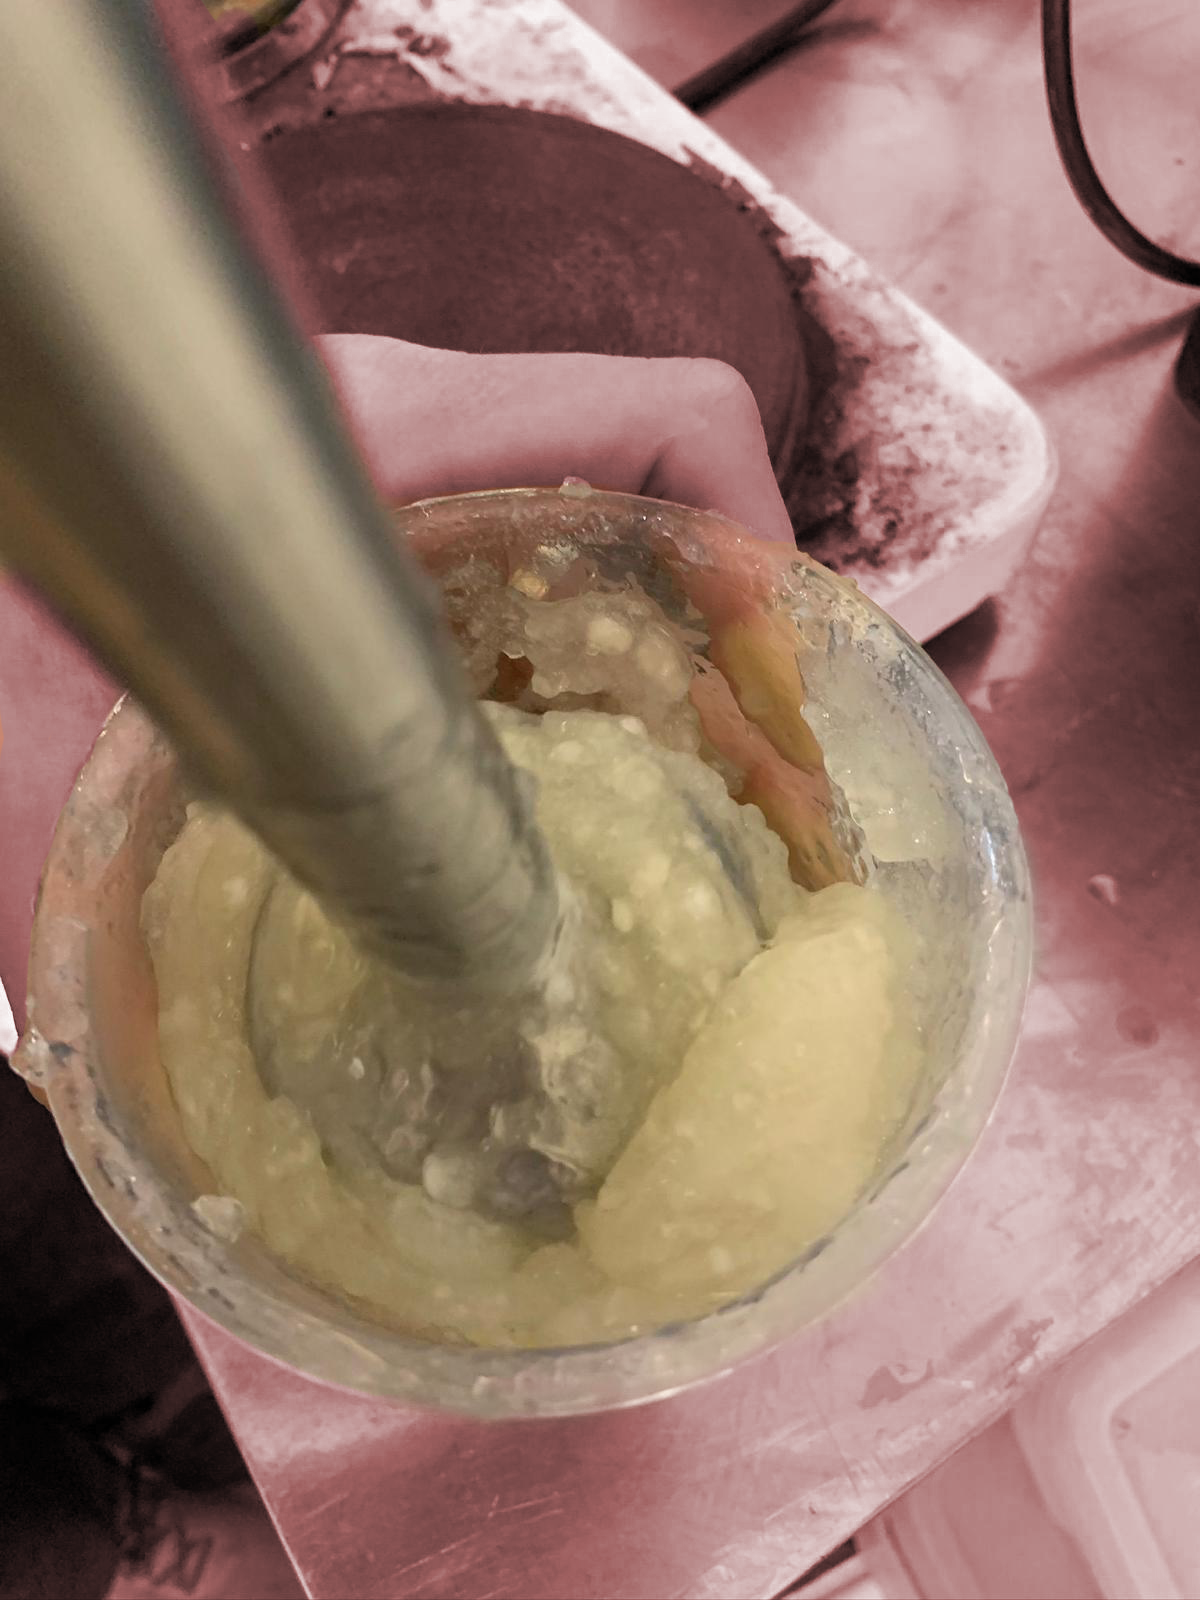
We began by defining two biomaterials that respectively occupy the roles of the sensor’s coating, i.e. the visible outer part that will be laser-cut, and the conductive biomaterial that will be placed inside the sensor. Both of these two recipes are based on Agar Agar
Agar recipe
- 300ml water
- 10 g agar agar
- 16g/32g glycerol (depends on the flexibility of the material we want to obtain)
We decided to use salt in order to create a biomaterial that can conduct electricity, in fact: sodium chloride in the liquid state or in aqueous solution is a good conductor of electricity. This is because it dissociates into sodium (Na+) and chloride (Cl-) ions when in this form. The charged ions allow electric current to flow through the solution.
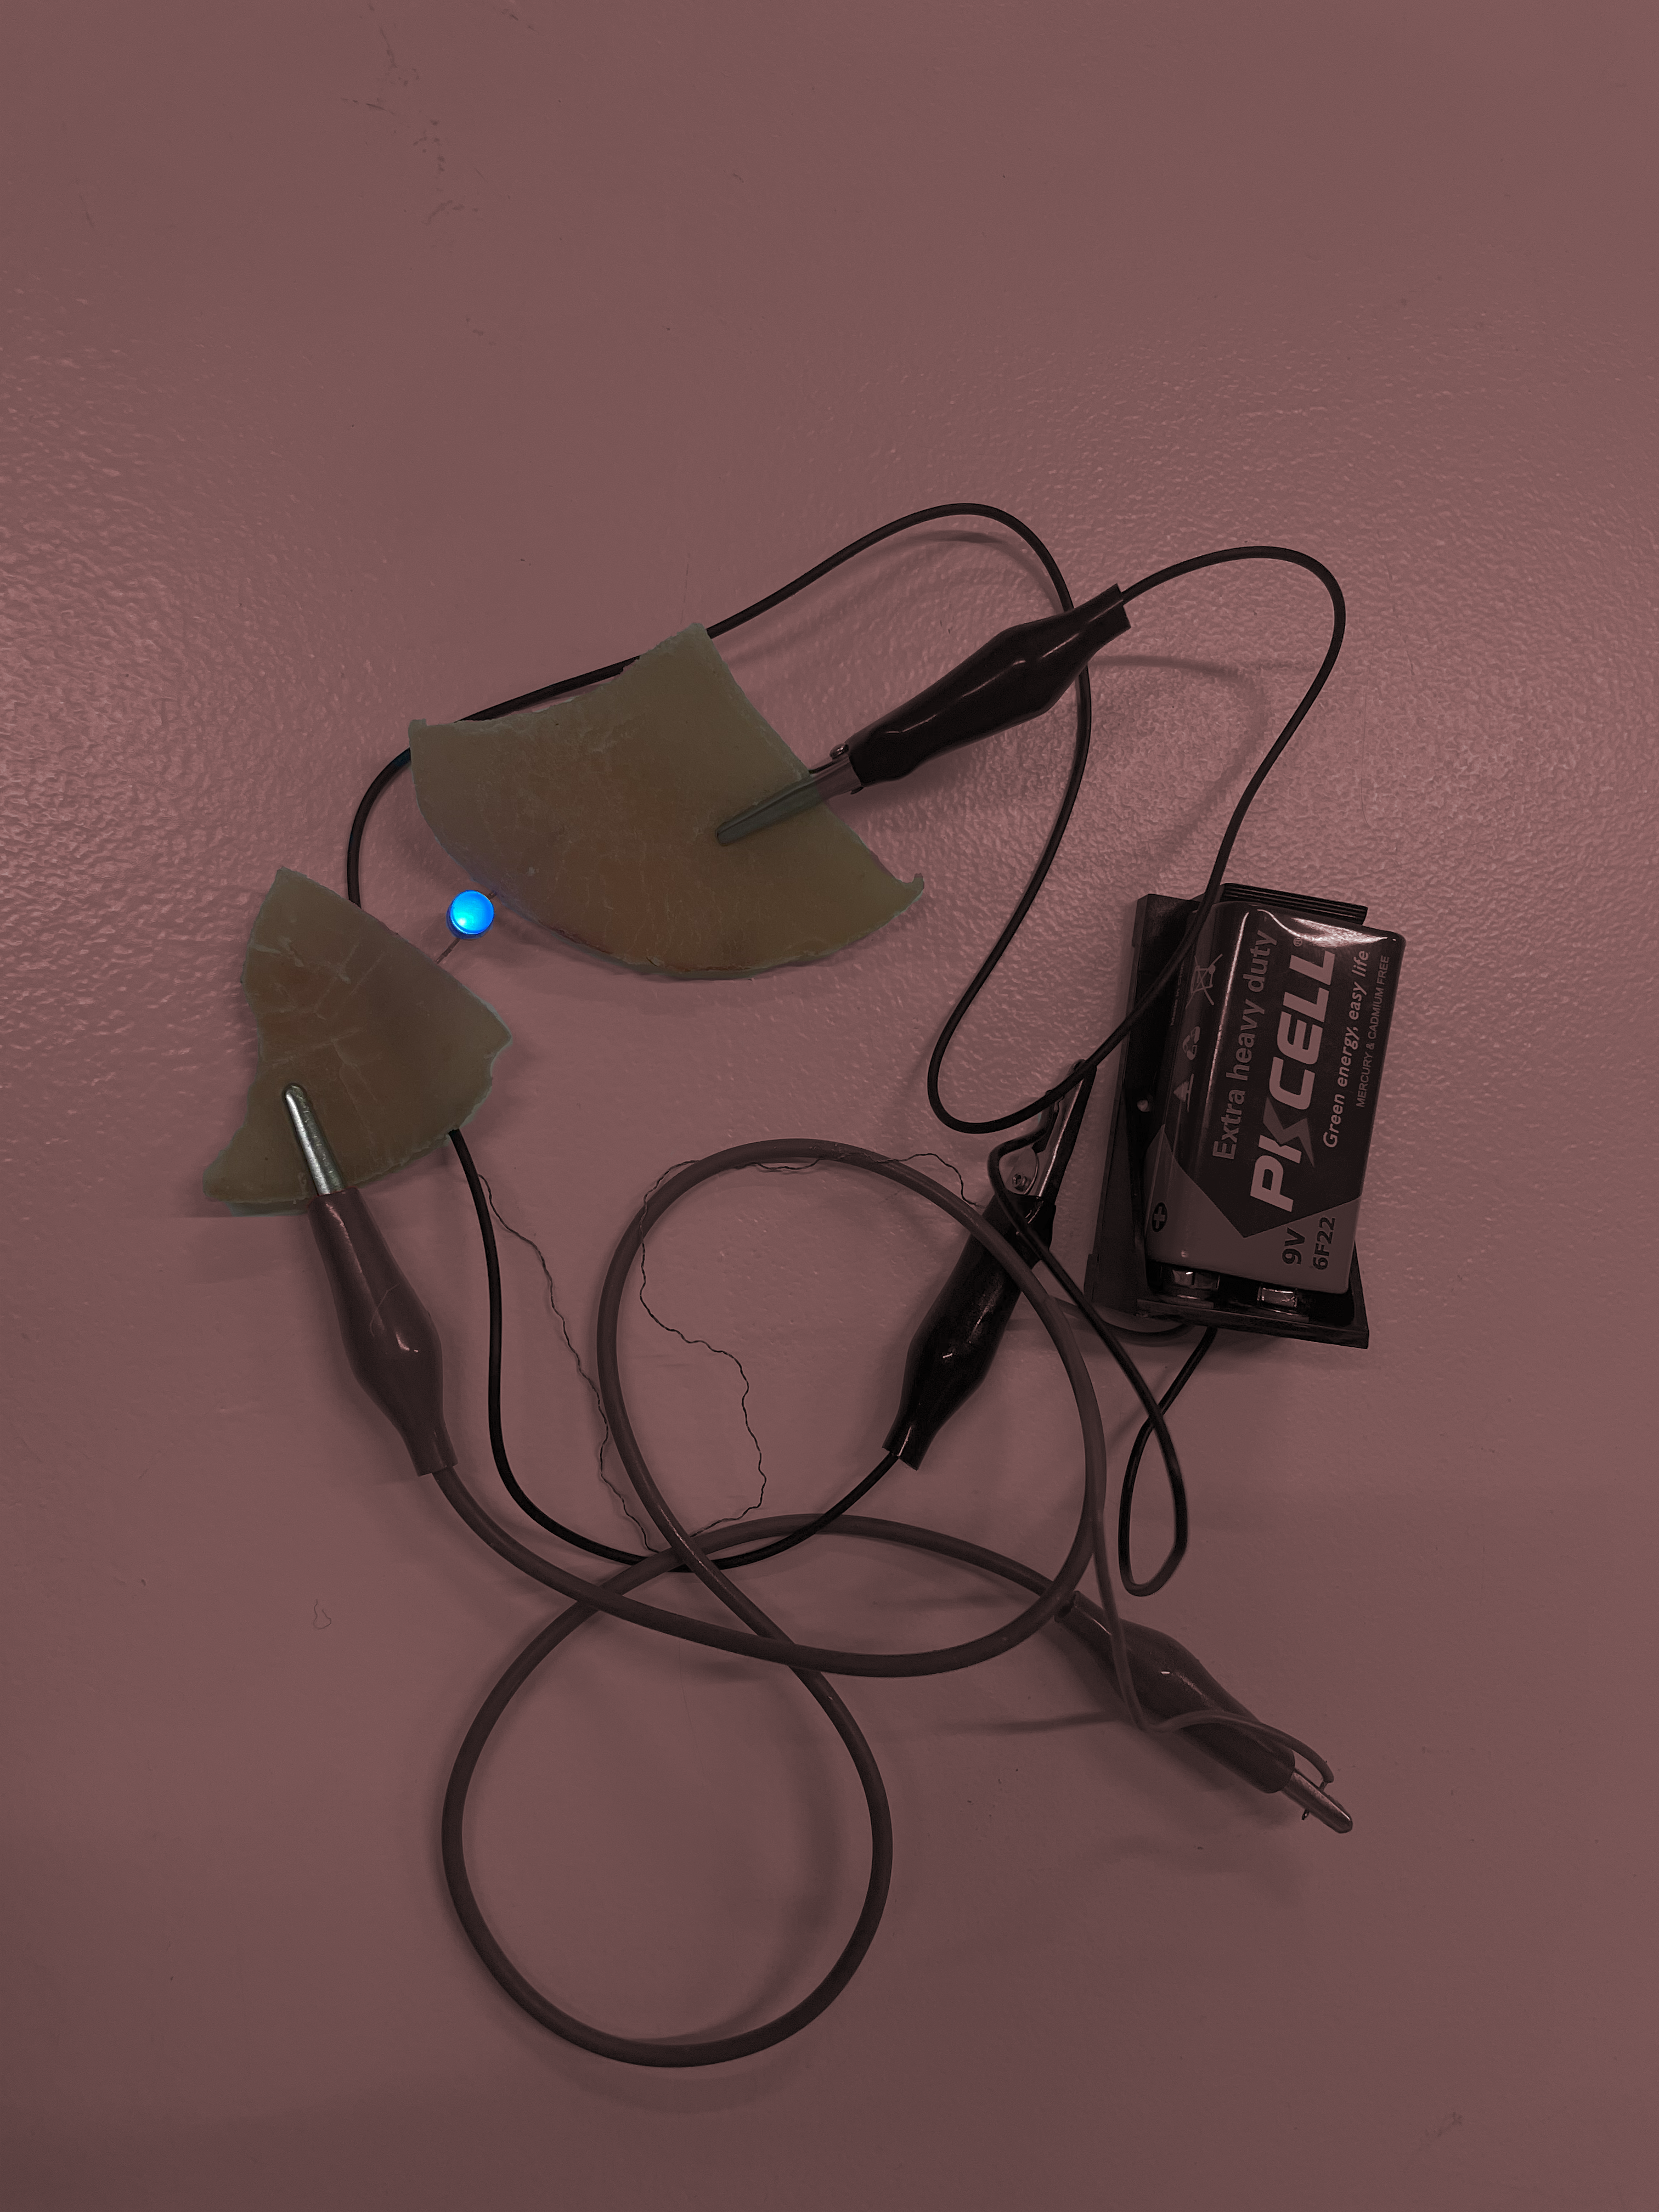
We did, however, face some difficulties as we were not aware of the amount of salt required to conduct electricity with a 3V battery (i.e. the smallest and therefore least bulky battery that we could fit in the sensor); furthermore, the drying time of a biomaterial (in this case agar) varies up to five days, if we do not create too thick a sample, so it extended the time for which we could test conductivity. In fact, we did several tests with different amounts of salt and came to the conclusion that if more than 20 g of salt are mixed, the conductivity with 6V is obtained.
Researching the shape
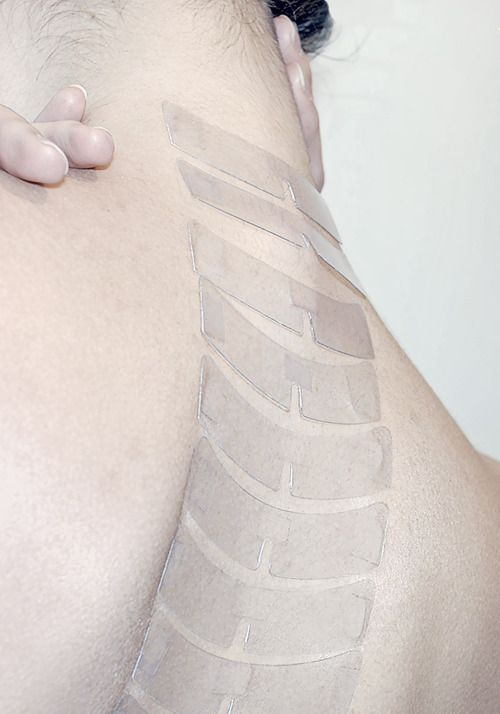
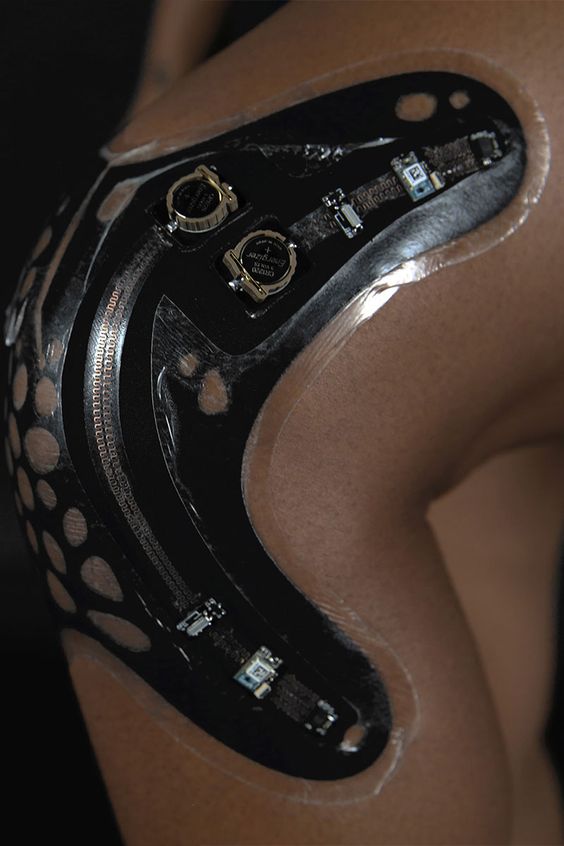
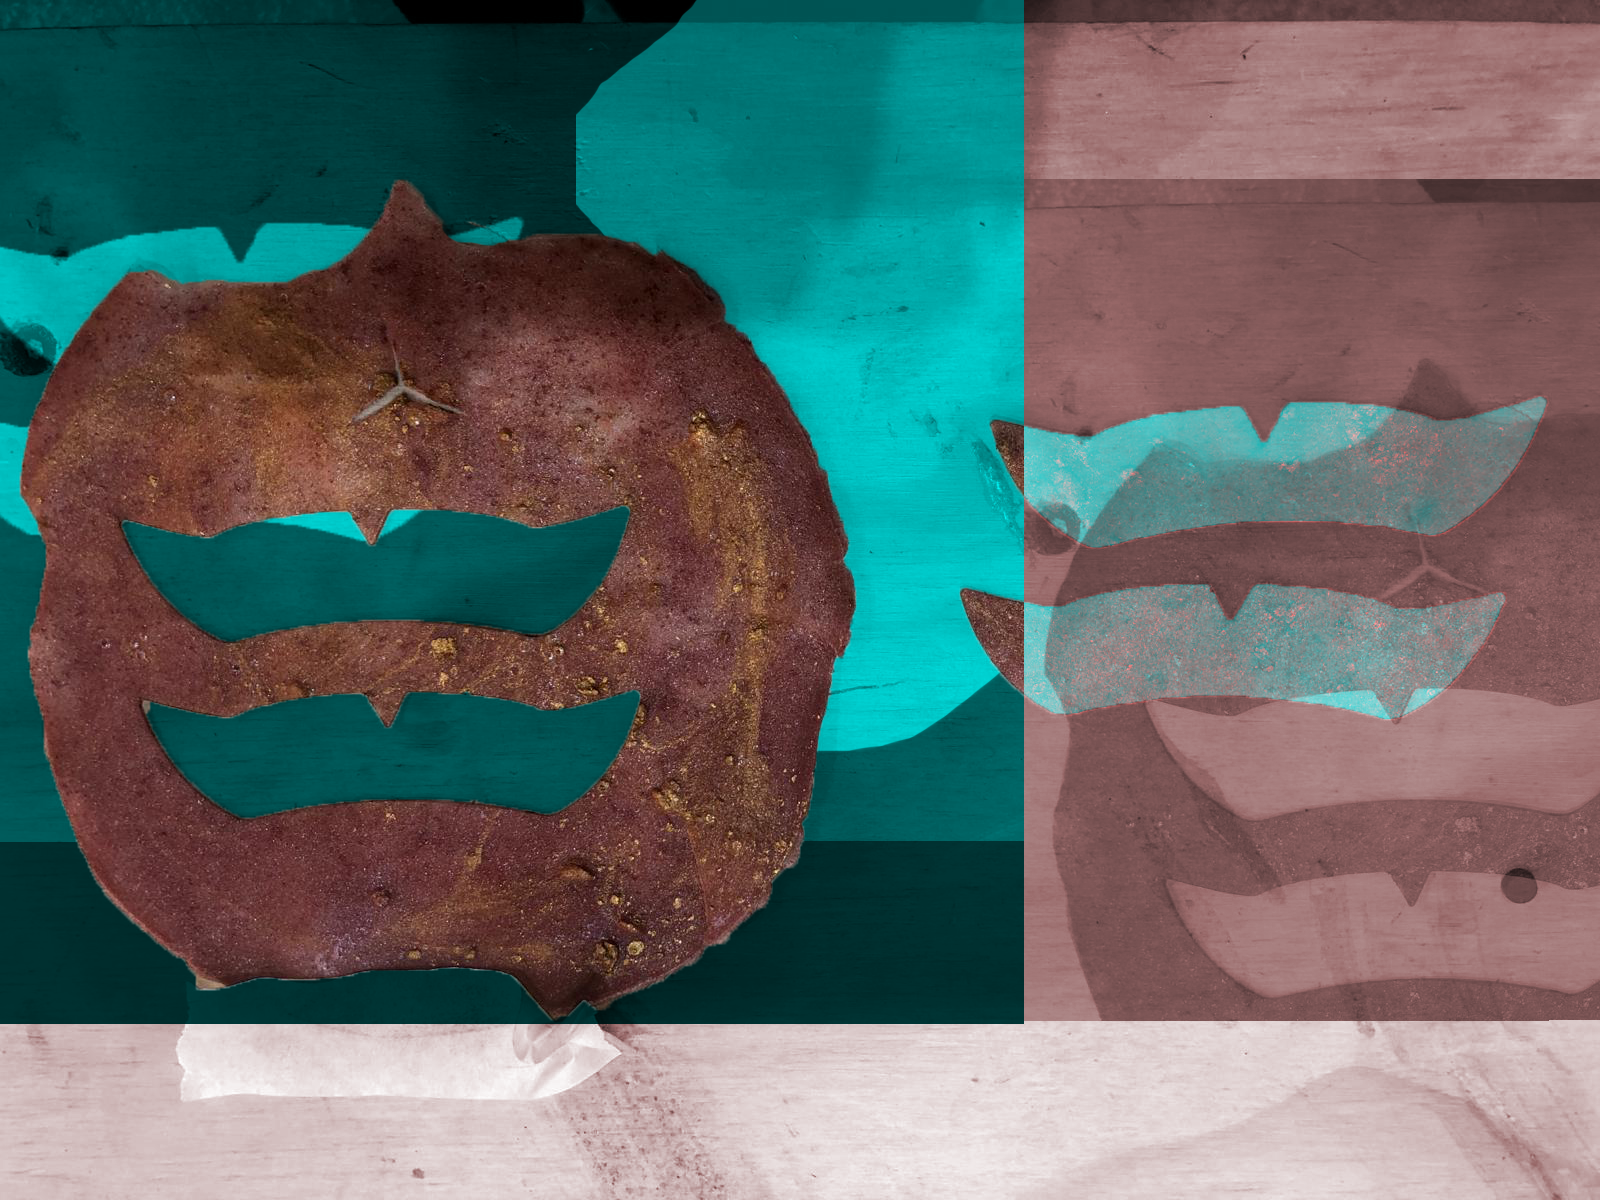
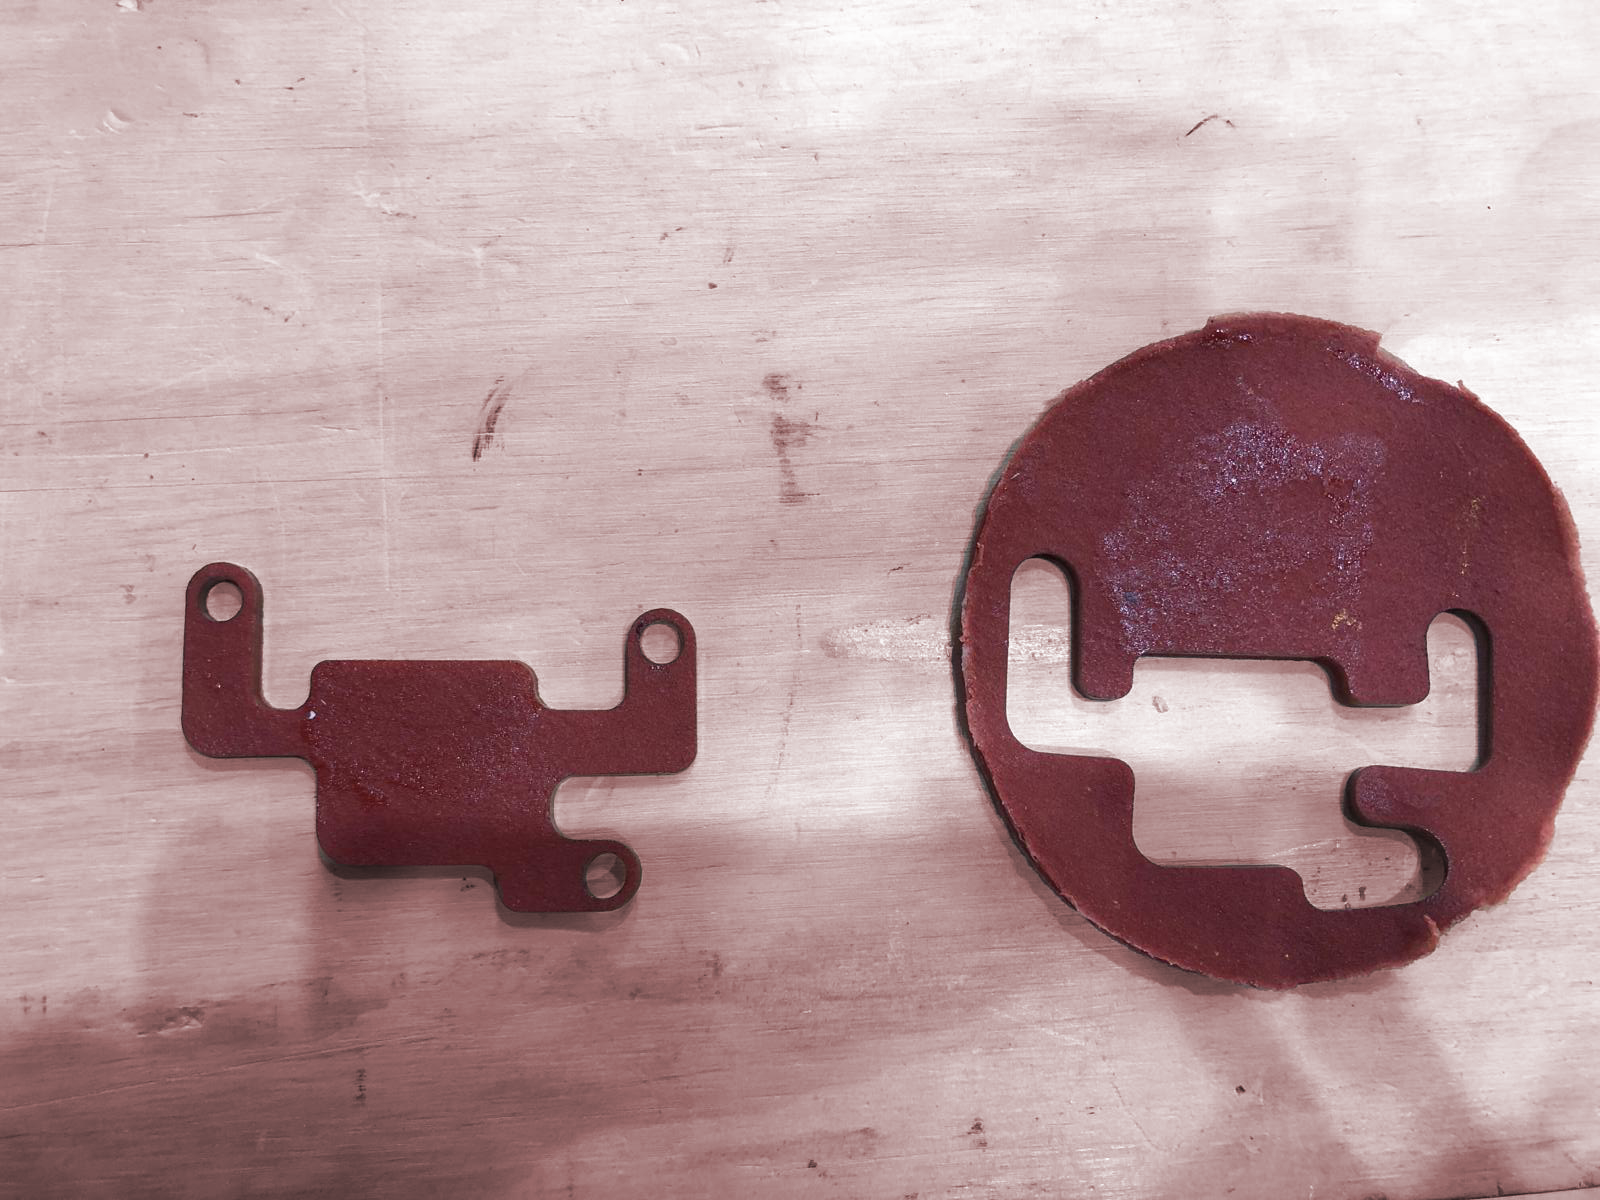
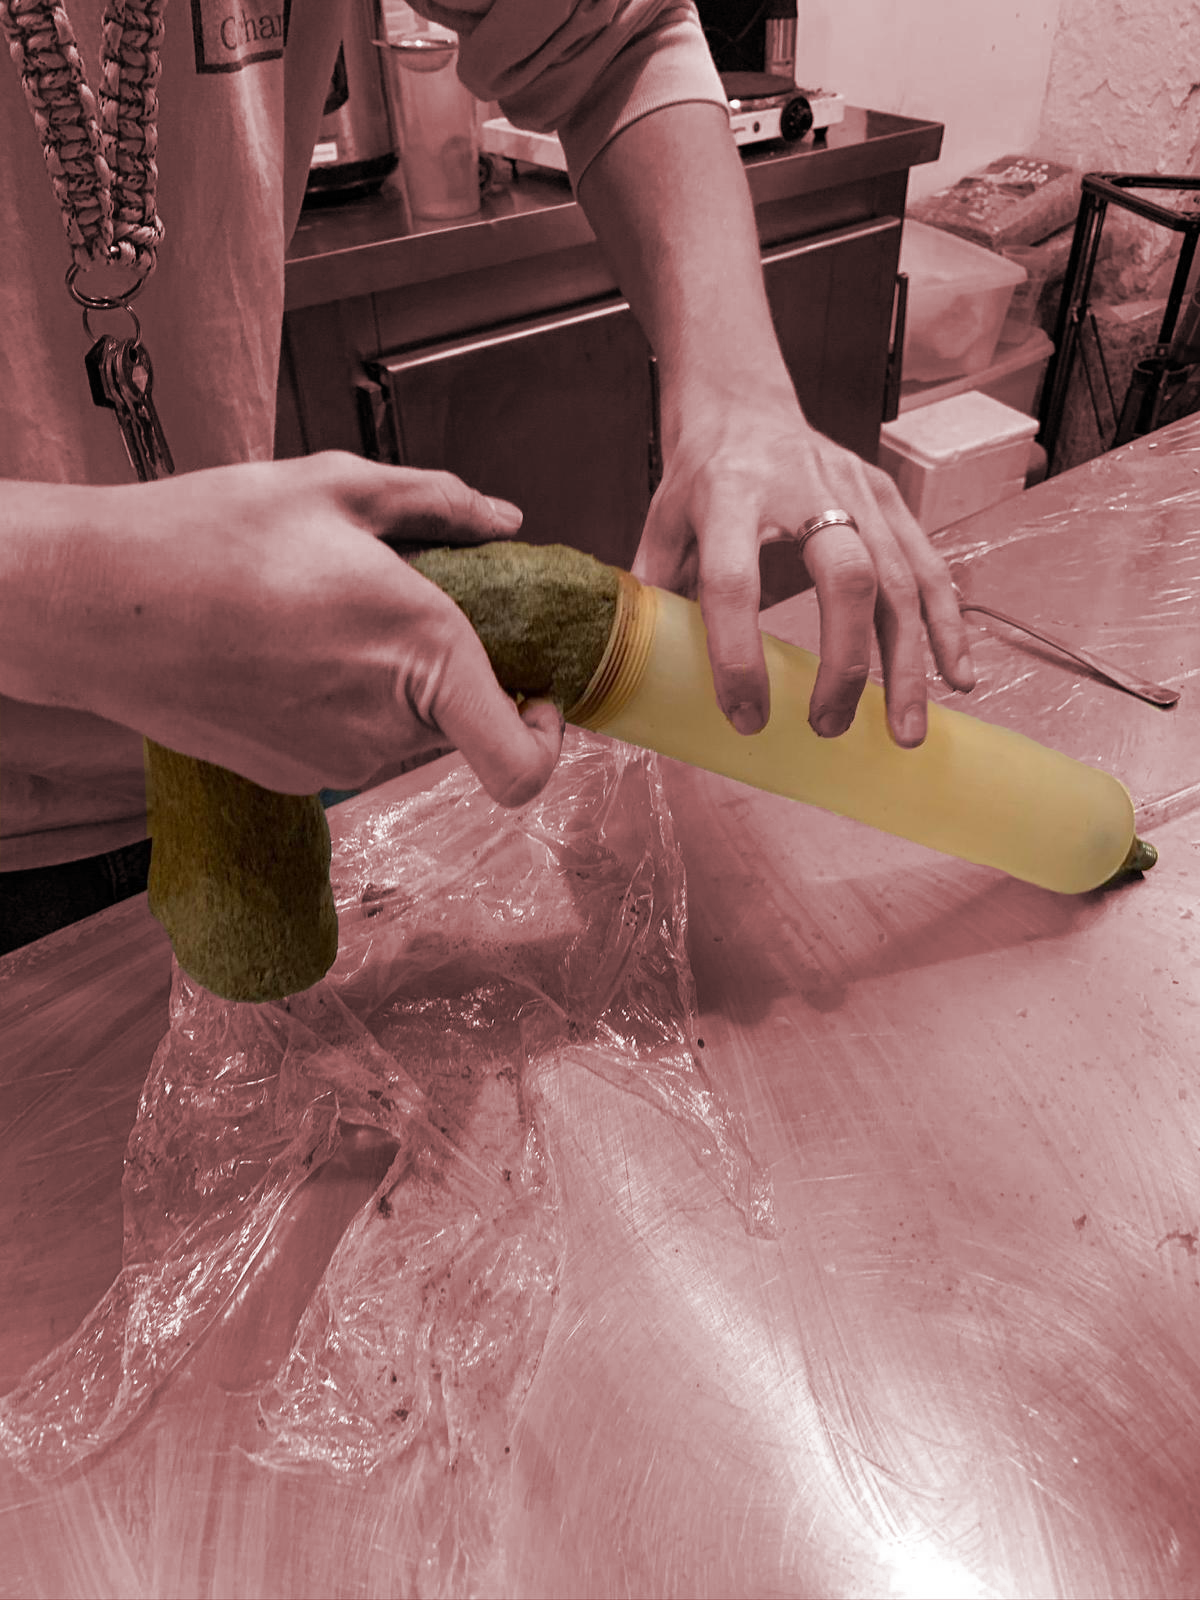
Our idea was to laser-cut the non-conductive agar material to a shape that would fit the body, like a prolugation of it; so we took two different paths: 1. design a shape that would remain in harmony with the body and be organic like a simulation of human skin 2. to design a shape that would detach itself from the body and refer to something technological like a wearable that was alien to the body, a bit cyberpunk
Final considerations
We both agreed that given the timeframe, it is not easy to build a small sensor that can work without cables, especially since we realised that material thicknesses and overall dimensions are critical to making a clean object.
 In addition, the arrangement of the objects inside is crucial to realise a functioning circuit, which, however, must be isolated from another material to allow the intermittent on/off function of the LED.
We also made another mould of conductive material which we thought of engraving with laser cutting in order to be able to position the batteriers for not wasting volume, but we realised that in long contact with the material, they oxidise.
In addition, the arrangement of the objects inside is crucial to realise a functioning circuit, which, however, must be isolated from another material to allow the intermittent on/off function of the LED.
We also made another mould of conductive material which we thought of engraving with laser cutting in order to be able to position the batteriers for not wasting volume, but we realised that in long contact with the material, they oxidise.
Task 2
Creating an artifact by printing it using biomaterials with Marius
Coaster from generative grasshopper file
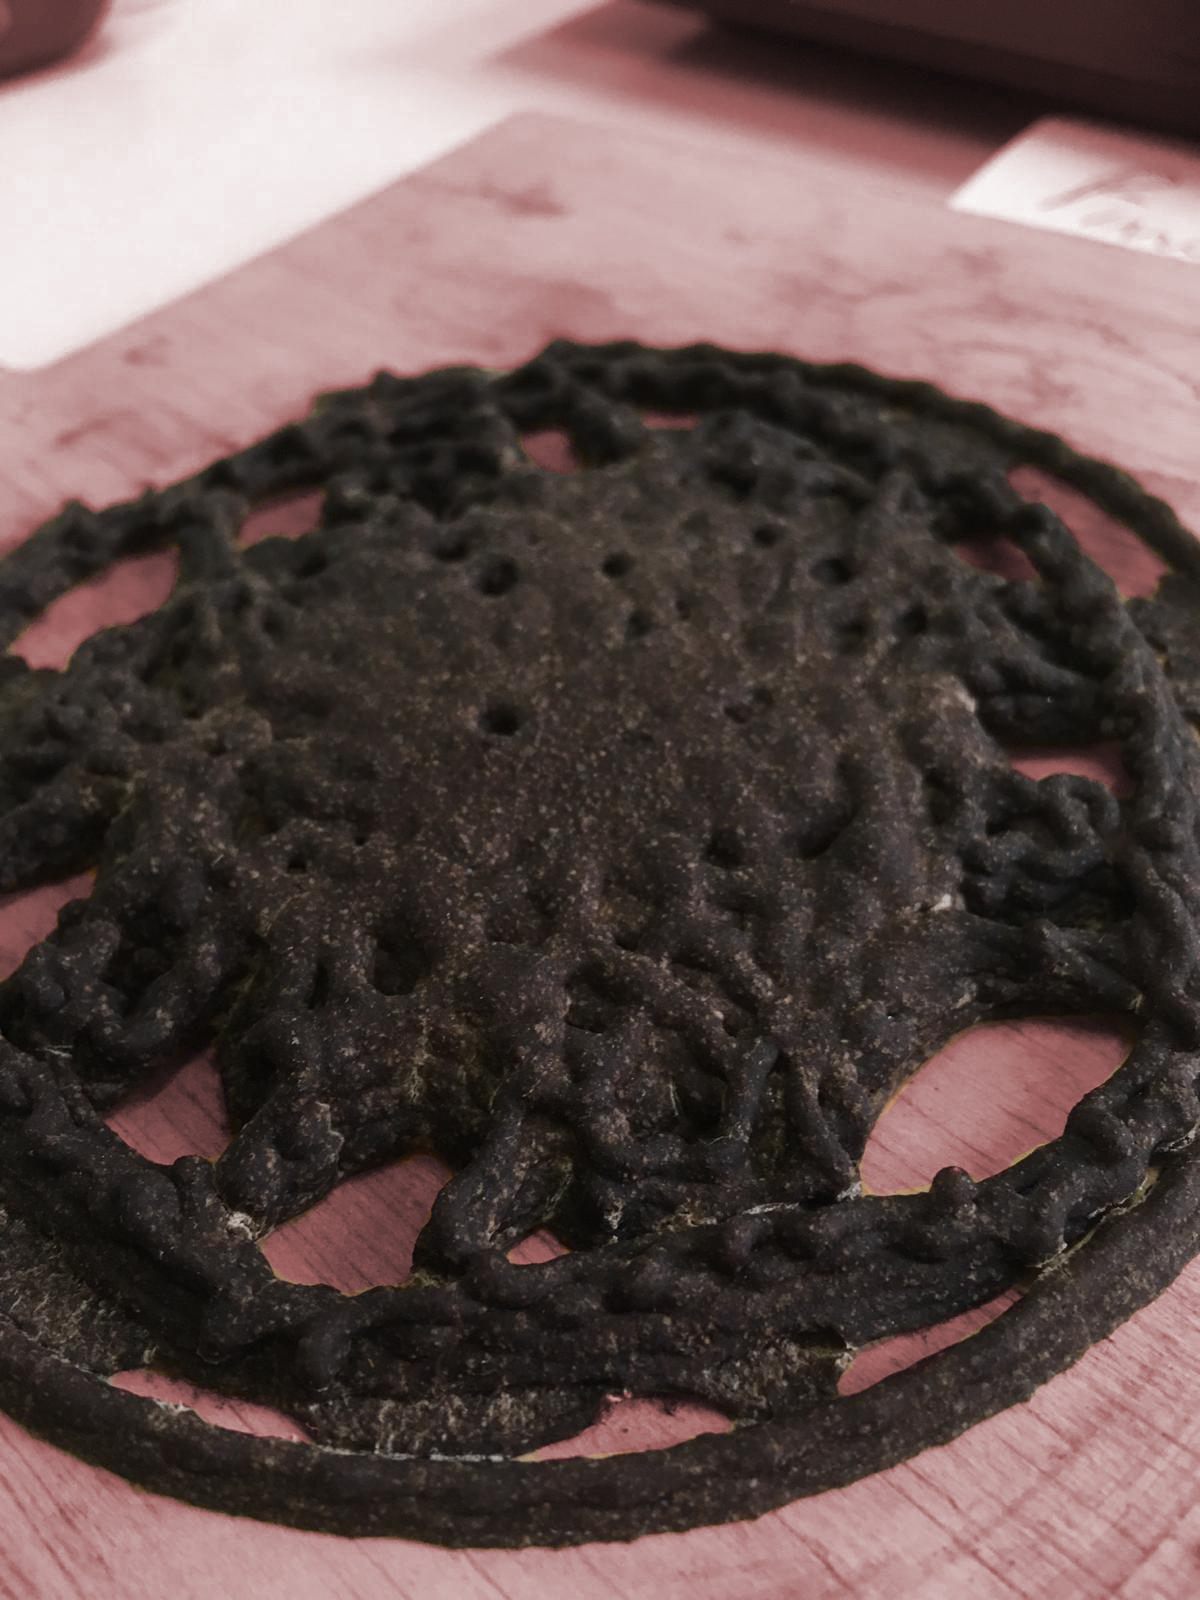
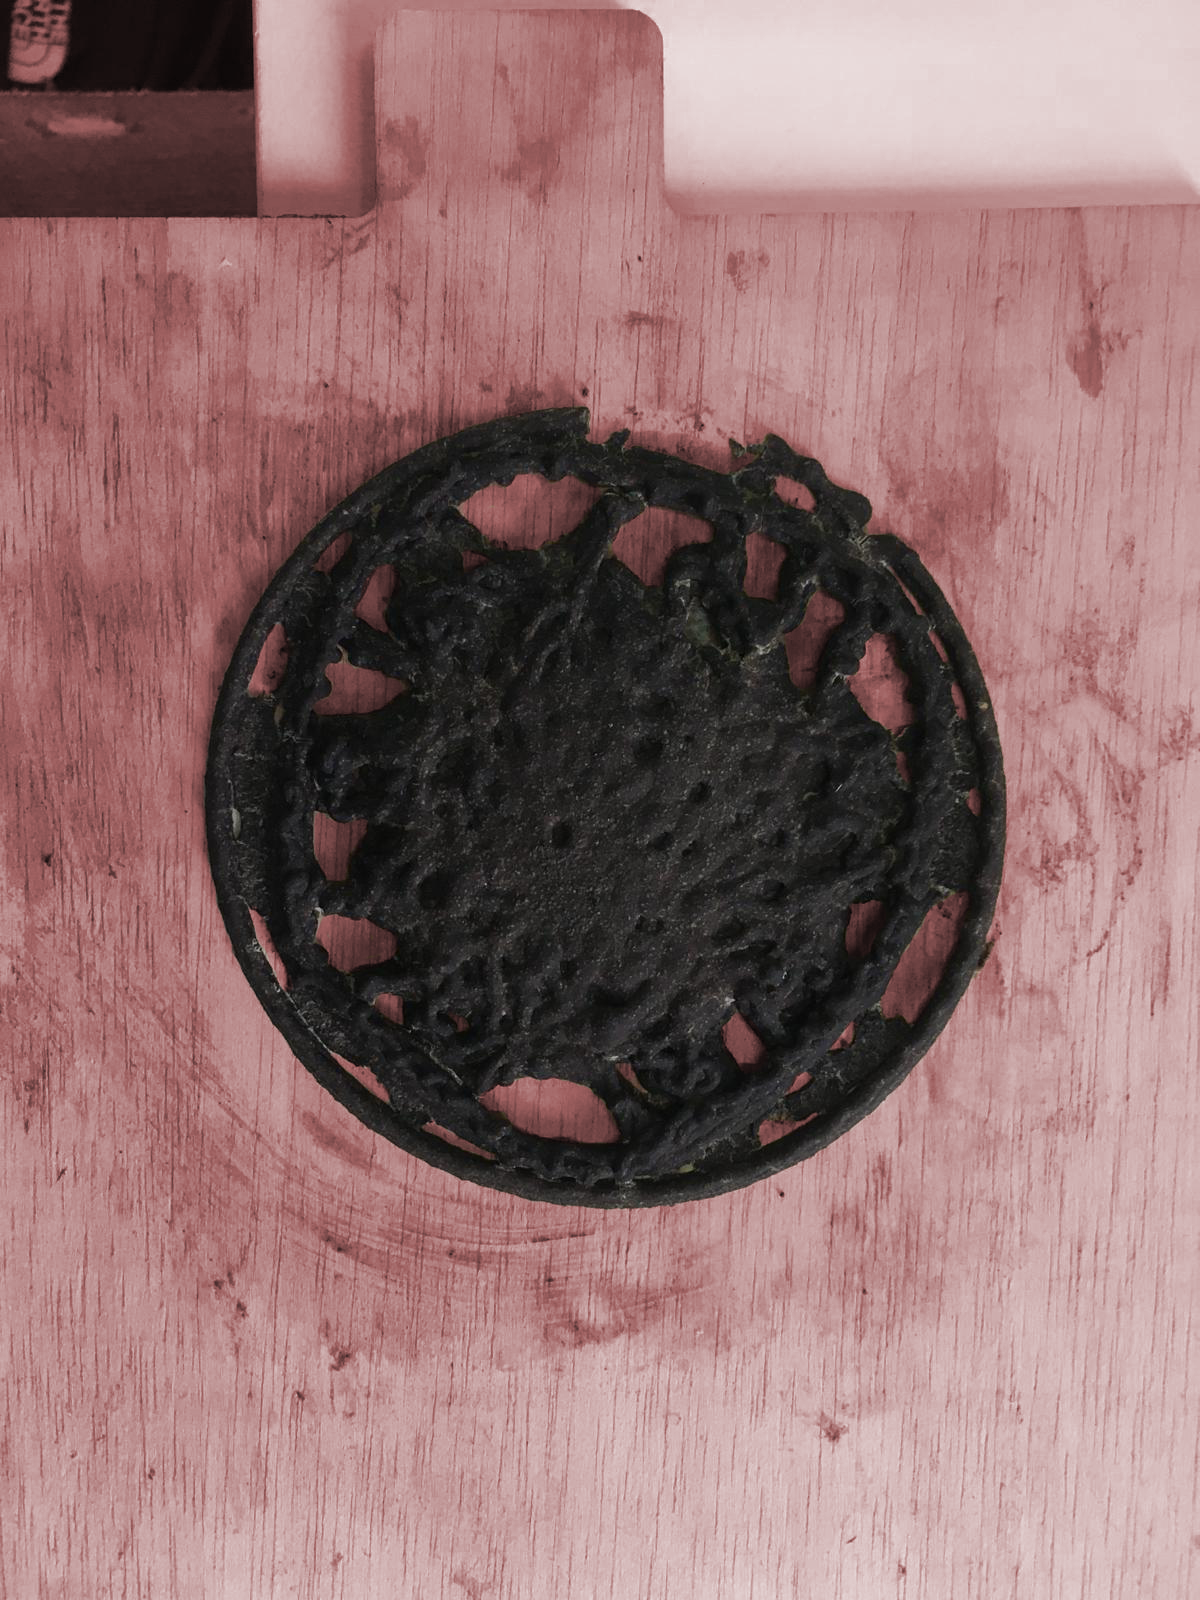
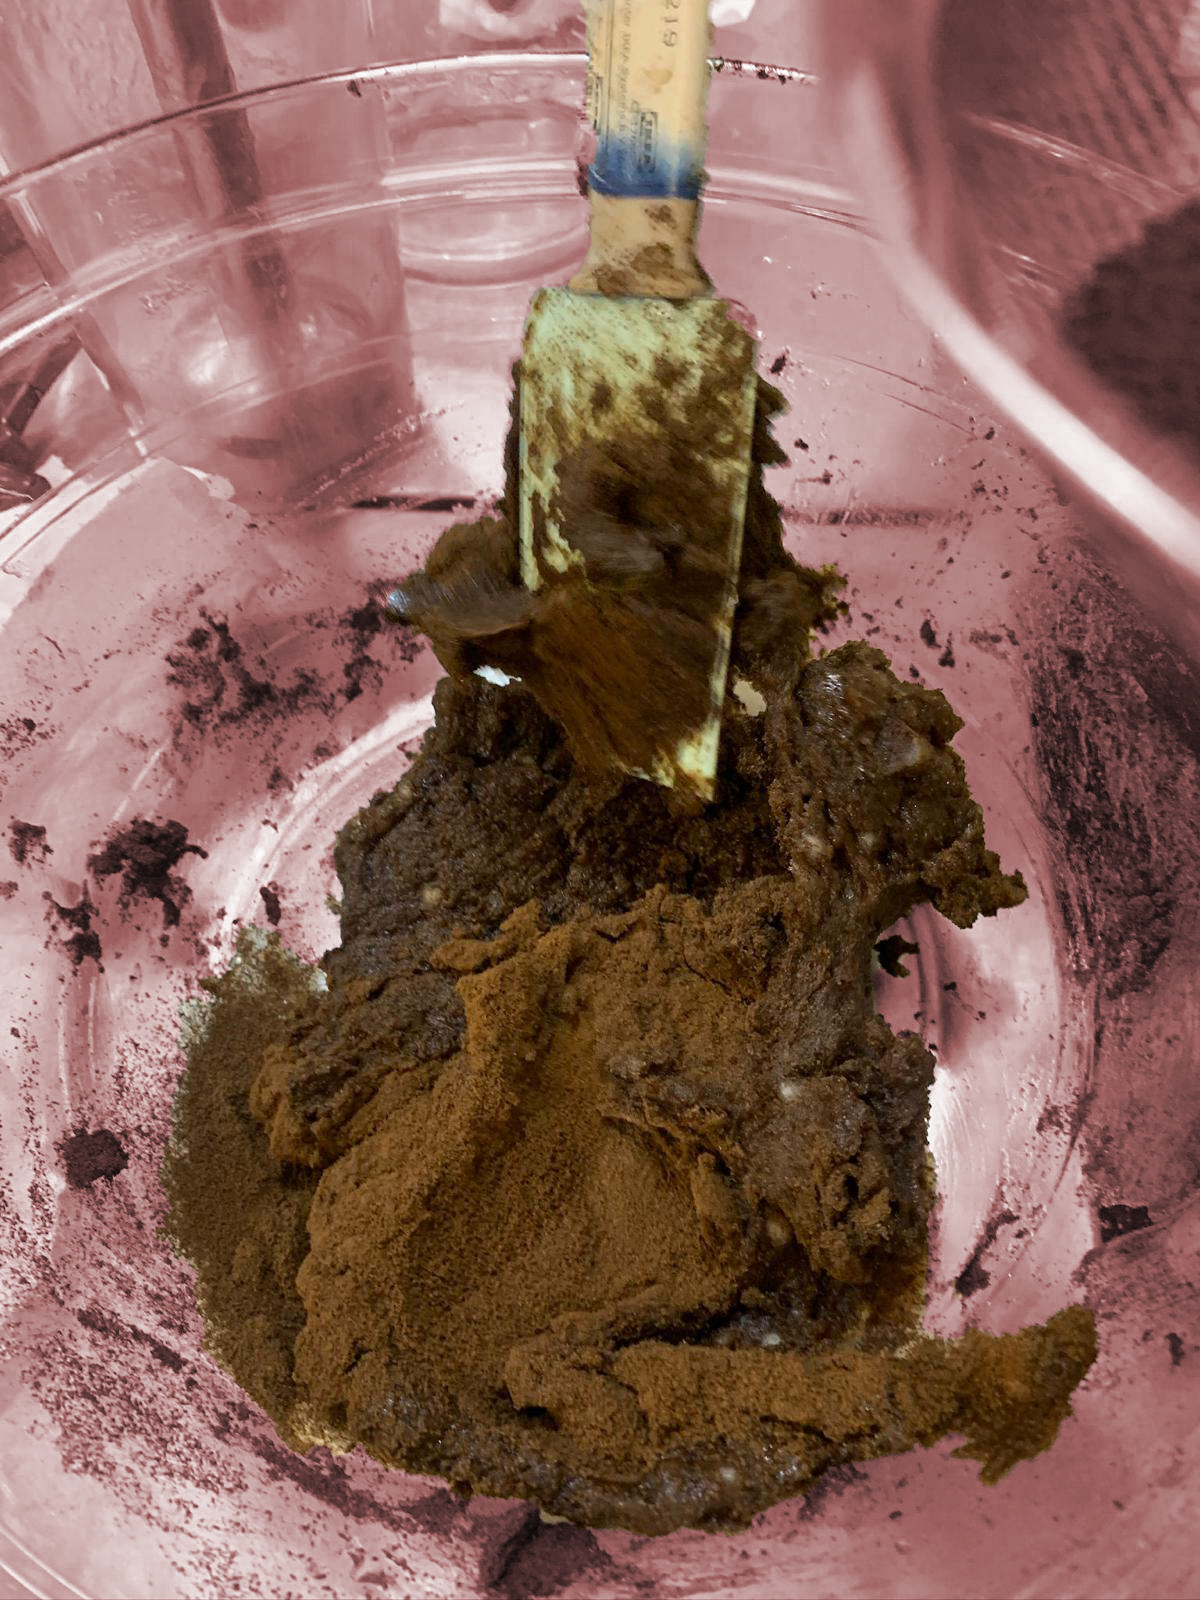
For this delivery Marius and I decided to make a biomaterial to print it, and we decided to use coffee to achieve a grainy texture. We went at Itnig to get the waste of the coffee used during the day, and, we thought we could relive something for them since we were using their waste coffee, so, we thought of making a coaster that the café could use to store customers’ orders.
Process
We start by preparing the file for the print using grasshopper, and for creating the form we used Kangaroo: Kangaroo is a Live Physics engine for interactive simulation, form-finding, optimization and constraint solving.
For this reason, changing the parameters of the algorithm as the strenght or the domain, respectively change the composition of the lines that are generated by activating the button.
After preparing the file, we start preparing the recipe:
coffee print paste recipe
- 200ml water
- 8g Sodium Alginate
- 12,5g CMC Celulose
- 10g Glycerine
- 85g Flour
- 30g Coffee
Results